Reynolds Kitchens Oven Bags offer a convenient cooking method, simplifying meal preparation and cleanup. They’re ideal for roasting meats, poultry, and vegetables effortlessly.
What are Reynolds Oven Bags?
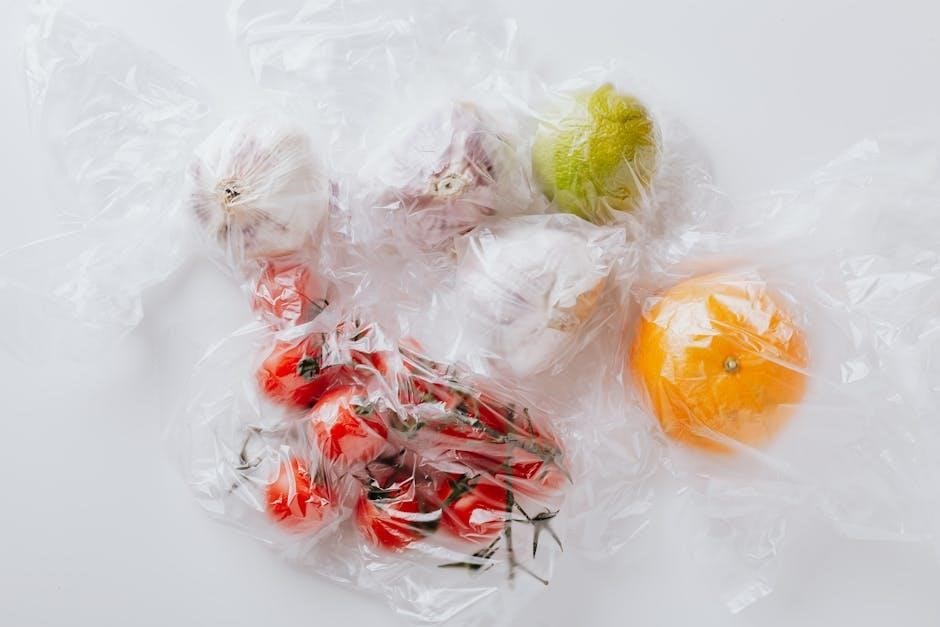
Reynolds Kitchens Oven Bags are specially designed, heat-resistant bags used for cooking food directly inside the oven. Constructed from a durable, food-grade plastic, these bags create a self-basting environment, locking in moisture and flavors during the cooking process. They eliminate the need for messy roasting pans and reduce oven cleanup significantly.
Essentially, they function as a portable, sealed oven within your oven! These bags are pre-vented, or allow for easy venting, to release steam, ensuring food cooks evenly and remains incredibly tender. They come in various sizes to accommodate different portions and types of food, from whole chickens to smaller cuts of meat and vegetables. Using them is a straightforward way to achieve delicious, juicy results.
Benefits of Using Oven Bags
Reynolds Oven Bags provide numerous advantages for home cooks. They lock in flavor and moisture, resulting in incredibly tender and juicy meats and vegetables. Cleanup is dramatically simplified – no more scrubbing roasting pans! The bags minimize oven splatter, keeping your oven cleaner and reducing cooking time due to efficient heat transfer.
Furthermore, oven bags promote healthier cooking by reducing the need for added fats and oils. They allow for even cooking, preventing dry spots and ensuring consistent results. They’re versatile, suitable for a wide range of recipes, from pot roasts and ham to poultry and one-pan dinners, making meal preparation effortless.
Preparing to Use Reynolds Oven Bags
Proper preparation is key for successful oven bag cooking; always check for damage, preheat your oven to the correct temperature, and season food well.
Checking the Bag for Damage
Before use, thoroughly inspect each Reynolds Oven Bag for any tears, punctures, or weaknesses. Even a small hole can cause steam to escape, leading to drier food and potential bag failure during cooking. Carefully unfold the bag and examine all seams and surfaces, holding it up to the light if necessary. Discard any bag that shows signs of damage – it’s crucial for safety and optimal results. Using a compromised bag risks messy oven cleanup and unevenly cooked meals. Prioritize a pristine bag for a successful and enjoyable cooking experience. Remember, a little inspection saves a lot of frustration!
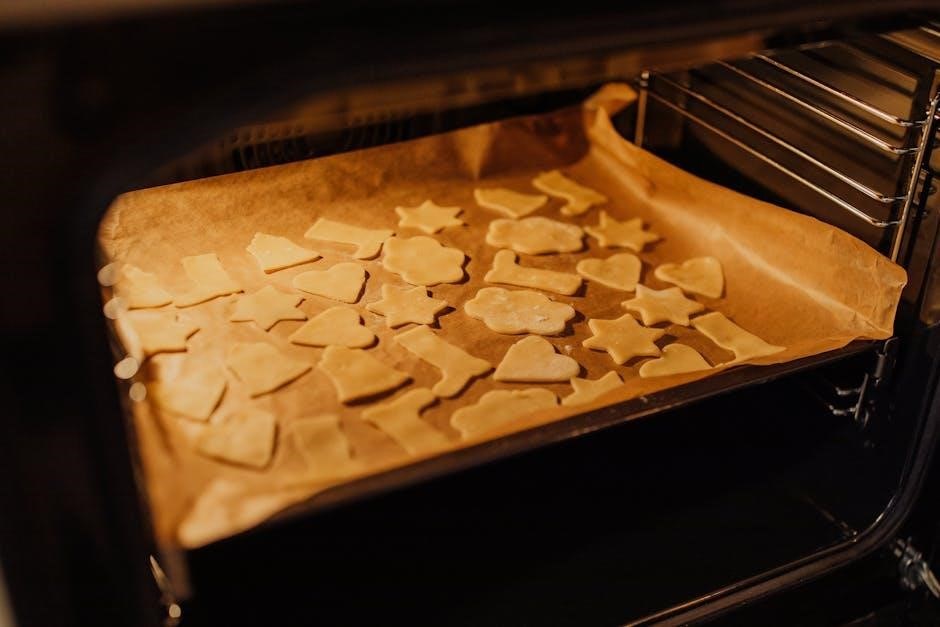
Preheating the Oven
Proper oven preheating is essential when utilizing Reynolds Oven Bags. Typically, temperatures range between 325°F and 400°F, depending on the recipe and food type. Always refer to your specific recipe for the recommended temperature. Allow the oven to fully reach the set temperature before placing the bag inside; this ensures consistent cooking and optimal results. A cold oven can lead to unevenly cooked food and prolonged cooking times. Confirm preheating with an oven thermometer for accuracy. Preheating creates the ideal environment for steam to circulate effectively within the bag, locking in moisture and flavor.
Seasoning Your Food
Before placing food into a Reynolds Oven Bag, thorough seasoning is crucial for flavorful results. Apply your desired spices, herbs, and marinades directly to the meat or vegetables. Don’t be shy – the bag traps flavors, intensifying them during cooking. Consider using dry rubs, garlic powder, onion powder, paprika, or your favorite seasoning blends. Ensure the seasoning is evenly distributed for consistent taste throughout the dish. Remember, the bag prevents basting, so adequate seasoning beforehand is key. Seasoning enhances the natural flavors and creates a delicious, aromatic meal.
Using Reynolds Oven Bags: Step-by-Step
Follow these simple steps: place food inside, securely seal the bag, create steam vents, and position it within the preheated oven for optimal cooking.
Placing Food Inside the Bag
Carefully open the Reynolds Oven Bag, ensuring you have enough space to comfortably place your food inside. Season the meat or vegetables with your desired spices before placing them within the bag – this ensures even flavor distribution during cooking. Avoid overcrowding the bag; leave some airspace for proper heat circulation.
For larger cuts of meat, like a pot roast, center it within the bag. For vegetables, spread them in a single layer as much as possible. Remember, the bag should not be filled more than two-thirds full to prevent bursting and ensure thorough cooking. Gently maneuver the food to avoid puncturing the bag during placement.
Sealing the Bag Properly
Securely close the Reynolds Oven Bag using the nylon tie provided. Fold the top of the bag over approximately one inch, then tightly twist the tie around the folded portion. Continue twisting until the seal is firm and prevents steam from escaping excessively. A proper seal is crucial for trapping moisture and creating a self-basting effect, resulting in juicier, more flavorful food.
Ensure the tie is knotted securely to avoid accidental opening during cooking. Double-check the seal along its entire length. A poorly sealed bag can lead to a dry roast or unevenly cooked meal. Don’t overtighten, as this could potentially cause the bag to tear.
Creating Steam Vents
After sealing the Reynolds Oven Bag, carefully create several small slits – steam vents – in the top of the bag using kitchen scissors. These vents are essential for allowing excess steam to escape during cooking, preventing the bag from bursting. Typically, 3-4 slits, each about ½ inch long, are sufficient.
Position the vents away from the sealed edge to maintain bag integrity. The steam vents contribute to crispy results, especially for poultry skin. Without vents, the built-up steam can make food soggy. Ensure the slits are small enough to prevent significant moisture loss, maintaining the self-basting environment within the bag.
Positioning the Bag in the Oven
Once sealed and vented, carefully place the Reynolds Oven Bag directly onto the oven rack. Avoid placing the bag directly on the bottom of the oven, as this could cause it to melt or stick. Ensure there’s enough space around the bag for even heat circulation; don’t overcrowd the oven.
You can place a baking sheet underneath the bag for easier cleanup of any potential drips, though this isn’t always necessary. Avoid letting the bag touch the oven’s heating elements. Proper positioning ensures consistent cooking and prevents bag damage during the roasting process.
Cooking Times & Temperatures
Optimal cooking typically ranges from 325°F to 400°F, depending on the food. Refer to a Reynolds oven bag cooking chart for precise times and temperatures.
Recommended Temperatures for Different Foods
Achieving perfectly cooked meals with Reynolds Oven Bags requires understanding temperature guidelines. For poultry, a temperature of 375°F (190°C) is generally recommended, ensuring it’s cooked through while remaining juicy. Roasts benefit from 325°F (160°C) for tender results, allowing for slow and even cooking.
Vegetables typically require a higher temperature, around 400°F (200°C), to achieve optimal caramelization and texture. Ham often cooks best at 325°F (160°C) to prevent drying out. Always consult a reliable cooking chart, as specific cuts and thicknesses will influence the ideal temperature. Remember to use a meat thermometer to verify internal temperatures for food safety and desired doneness.
General Cooking Time Guidelines
Estimating cooking times with Reynolds Oven Bags depends on the food type and weight. Poultry generally requires 1.5 to 2 hours, while a 3-4 pound roast may take 2.5 to 3.5 hours. Vegetables typically cook faster, ranging from 30 to 45 minutes. These are approximate times; always check for doneness using a meat thermometer.

Larger cuts of meat will naturally need longer cooking durations. Remember that oven bags trap moisture, potentially reducing cooking times slightly compared to conventional methods. Utilizing a Reynolds Oven Bag cooking chart provides more precise guidance based on specific food items and weights, ensuring a delicious and perfectly cooked meal every time.
Using a Cooking Chart
A Reynolds Oven Bag cooking chart is an invaluable resource for achieving optimal results. These charts detail recommended cooking times and temperatures for various foods, categorized by weight. They eliminate guesswork, ensuring your meals are cooked safely and to perfection.
Charts typically include sections for beef, pork, poultry, and vegetables, offering specific guidelines for each. Always refer to the chart corresponding to your oven bag size. Remember that oven temperatures can vary, so checking internal temperatures with a meat thermometer remains crucial. Save this handy chart for effortless, tasty one-pan dinners and easy cleanup!
Tips for Best Results
For optimal cooking, avoid overfilling bags, ensure proper sealing, and create steam vents. These simple steps prevent rupture and promote even, flavorful results.
Avoiding Bag Rupture
Preventing oven bag rupture is crucial for a mess-free cooking experience. Avoid overfilling the bag; leave ample space for steam circulation and expansion during cooking. Sharp bones or edges on food can puncture the bag, so consider tenderizing meat or covering sharp edges with vegetables.
Always check the bag for any pre-existing damage before use. Ensure the bag is positioned correctly in the oven, away from direct heat sources like the heating element or broiler. Creating sufficient steam vents – small slits cut into the top of the bag – is vital to regulate internal pressure and prevent bursting. Following these precautions will help ensure a successful and safe cooking process with Reynolds Oven Bags.
Ensuring Even Cooking
Achieving even cooking with Reynolds Oven Bags requires proper food placement and oven positioning. Distribute food in a single layer within the bag, avoiding overcrowding, which can lead to uneven heat distribution. For larger cuts of meat, placing them centrally ensures consistent cooking throughout.
Position the bag on the center rack of your preheated oven for optimal heat circulation. Regularly rotating the bag halfway through the cooking time can further promote evenness, especially for larger items. Remember to maintain the recommended cooking temperature for your chosen food, referencing a cooking chart for precise guidelines. These steps guarantee a thoroughly cooked and delicious meal.
Flavor Enhancement Techniques
Reynolds Oven Bags excel at locking in moisture, but also enhance flavors beautifully. Before sealing, add aromatic ingredients directly into the bag with your food – herbs like rosemary or thyme, garlic cloves, citrus slices, or even a splash of wine or broth. These infuse the food during cooking, creating a richer, more complex taste.
Dry rubs and seasonings adhere wonderfully within the bag, intensifying their impact. The sealed environment allows flavors to meld and penetrate the food more effectively than traditional roasting. Don’t be afraid to experiment with different combinations to discover your favorite flavor profiles!
Cleaning and Disposal
Reynolds Oven Bags are designed for single use and should be discarded after cooking. Simply dispose of the bag responsibly with your household waste.
Safe Disposal Methods
Reynolds Oven Bags are intended for one-time use, ensuring food safety and preventing potential contamination. After cooking, allow the bag to cool completely before handling. Carefully discard the bag in your household trash; do not attempt to reuse them, as they may become brittle and prone to tearing with repeated heating.
Avoid recycling oven bags, as they are typically made from a polyethylene blend not accepted in standard recycling programs. Check with your local waste management services for specific guidelines regarding plastic film disposal in your area. Proper disposal helps maintain hygiene and prevents environmental concerns. Always prioritize safe handling and responsible waste management practices when using these convenient cooking aids.
Reusing Oven Bags (If Applicable)
Reynolds Kitchens explicitly states their oven bags are designed for single-use only. While tempting to reuse for cost savings, doing so compromises hygiene and bag integrity. Repeated heating weakens the plastic, increasing the risk of leaks or ruptures during cooking, potentially causing burns or oven messes.
The bags’ effectiveness relies on their initial strength and seal. Reusing introduces microscopic tears, invisible to the eye, that can compromise these features. Prioritizing food safety and a successful cooking experience means adhering to the manufacturer’s recommendation of discarding the bag after each use. Investing in new bags ensures optimal performance and peace of mind.
Reynolds Oven Bags Recipes
Explore effortless cooking with Reynolds Oven Bags! Discover delicious recipes for pot roast, juicy ham, and various one-pan dinners for easy cleanup.
Pot Roast Recipes
Reynolds Oven Bags are fantastic for incredibly tender pot roast! Begin by seasoning a 3-4 pound beef chuck roast generously with salt, pepper, and your favorite spices. Place the seasoned roast inside a Reynolds Oven Bag, adding chopped carrots, potatoes, and onions around it.
Securely seal the bag, creating a few small slits on top for steam to escape. Preheat your oven to 325°F (160°C). Position the bag in a roasting pan and bake for approximately 3-4 hours, or until the roast is fork-tender.
The bag locks in moisture, resulting in a juicy and flavorful pot roast. Enjoy this classic comfort food with minimal cleanup – a true benefit of using oven bags!
Ham Recipes
Reynolds Oven Bags create a remarkably moist and flavorful ham! Start with a fully cooked, bone-in ham (approximately 5-7 pounds). Score the ham in a diamond pattern and stud with cloves if desired. Place the ham inside a Reynolds Oven Bag, adding a glaze made of brown sugar, honey, and Dijon mustard.
Seal the bag securely, remembering to vent for steam. Preheat your oven to 325°F (160°C). Place the bagged ham in a roasting pan and bake for approximately 10-12 minutes per pound, or until heated through.
The oven bag traps juices, preventing the ham from drying out. This method delivers a tender, succulent ham with easy cleanup – a delightful holiday or special occasion meal!

Troubleshooting Common Issues
If a bag leaks, ensure proper sealing and venting. For undercooked food, extend cooking time and verify oven temperature accuracy for best results.
Bag Leaking During Cooking
Experiencing a leaking oven bag can be concerning, but is often easily resolved. First, carefully inspect the bag for any initial punctures or tears before placing food inside. Ensure the bag is properly sealed; use the nylon tie provided, creating a tight knot close to the food.
Crucially, remember to create steam vents! Small slits allow steam to escape, preventing pressure buildup that can cause leaks. If a leak develops during cooking, avoid opening the oven immediately. Monitor closely; a small leak might self-seal as the bag heats. However, if the leak is substantial, carefully remove the bag (using oven mitts!) and transfer the food to a different cooking vessel.
Food Not Cooking Through
If your food isn’t cooking thoroughly within the recommended time, several factors could be at play. First, verify your oven temperature is accurate using an oven thermometer. Ensure the bag is positioned correctly in the oven, allowing for even heat circulation – avoid placing it directly against the oven walls.
Larger cuts of meat or thicker vegetables will naturally require longer cooking times. Consult a Reynolds Oven Bag cooking chart for specific guidelines based on food type and weight. Don’t overcrowd the bag; sufficient space allows for proper heat penetration. If still undercooked, reseal the bag and continue cooking, checking periodically until it reaches a safe internal temperature.